Picture Postcard Workflow: How to effectively use the MMM action
MMM: What is it?
Roughly speaking, the major steps of the PPW can be divided in three parts: Color - Contrast - Color again.
I like to think of these as Hue - Contrast - Saturation but it's not so simple. Right after the contrast enhancement steps, when we return to color, an action is called for that is mysteriously called "Modern Man from Mars". The main purpose of this action is to enhance color variation. This is a workflow step that affects both hue and saturation, but looking at the result of the panel action, it also affects luminosity. Modern Man from Mars (or MMM as it is often referred to) seems to escape the strict PPW structure and take its own place. It is a strange beast for sure, a unique action that deserves special attention, both from the retoucher and from myself, trying to analyze the PPW steps.
First, let's have a look at what MMM does. Very schematically, and leaving out many details, it works as follows. The user is supposed to start with a selection. This selection is advisory only, but highly crucial for the outcome. It matters what the dominant colors and luminance values of the selection are, and how much they are spread. But before we get into the details, the steps.
- Convert the image to LAB.
- On a duplicate layer, select the L channel and equalize it based on the selection. Roughly said, this means: spread out the L values of the selection over the whole range (0 to 100) and apply this effect to the whole image.
- Fade the previous action to 40% to weaken the effect
- On another duplicate layer, select the A channel and equalize that. This again will spread out the A values of the selection over the whole range (-128 to 127) and apply this effect to the whole image
- Fade the previous action to 32%
- Still on the same layer, repeat step 4 for the B channel
- Fade the previous action to 30%
- For the luminosity layer, create a mask that reduces the effect slightly for darker parts of the image.
- For the color layer, create a mask that reveals pixels according to their saturation; neutrals are completely masked, fully saturated colors completely shown
- Set opacity of both layers to 30%
If you have never heard of this action before, I don't expect you to understand it from above description, so I owe you more explanation. Let me start with an example image, figure 1.
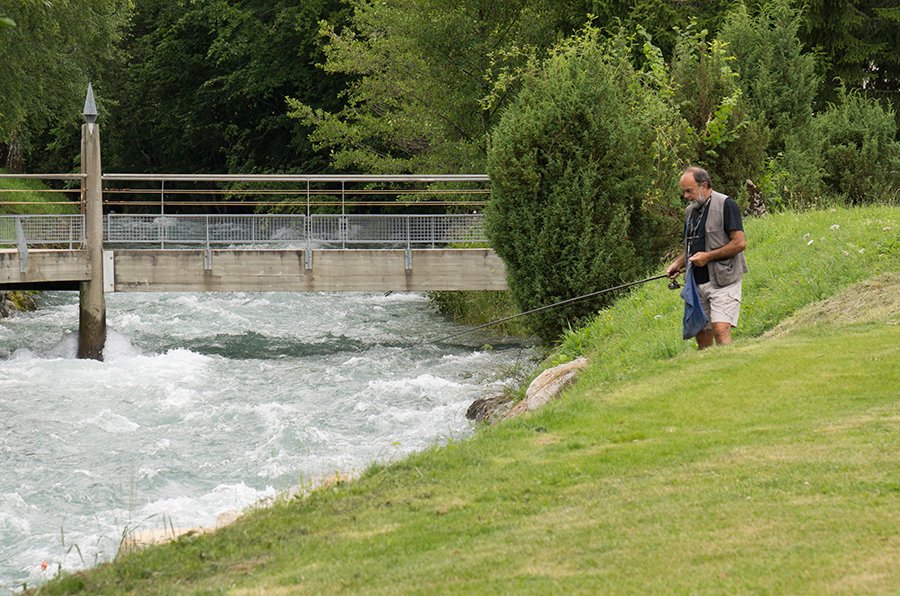
Figure 1: The original
Pyrenees
The primary focus in this image is the man, but he is too small to carry the whole image. There is much green around him, grass and bush, both pretty flat. This is a good case for the MMM action: introduce variation in the green.
The usual way of working is to make a rough selection containing a good deal of greenery - it doesn't have to be precise at all - and run the action from the PPW panel.
So let's do that and find out what happens. See figure 2 for the selection and figure 3 for the result. All settings were left on their default values.
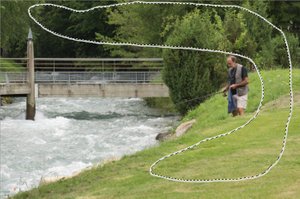
Figure 2: The selection
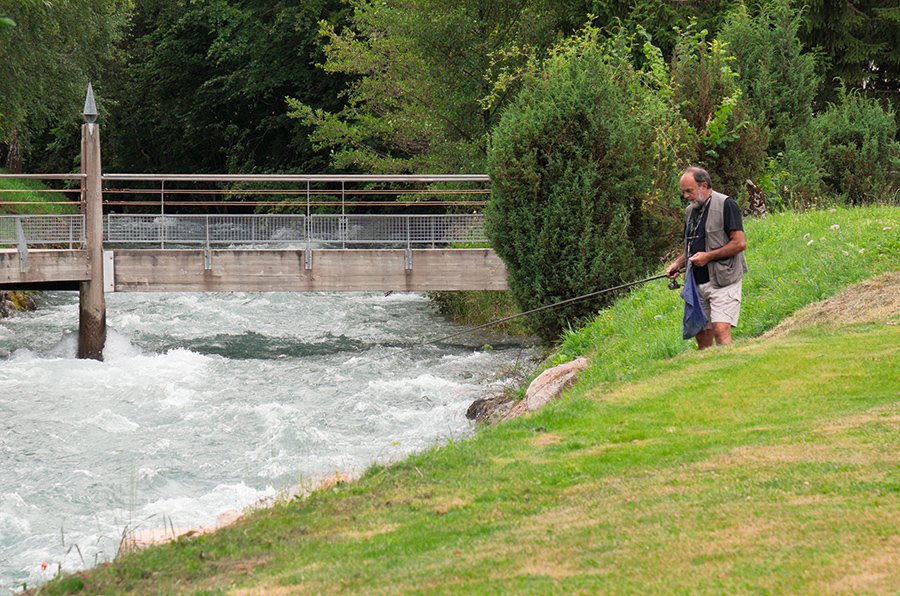
Figure 3: Result after applying MMM
MMM: How does it work?
To understand how this works, look back at the steps listed above. The important ones are 2, 4 and 6, and the really crucial part is the equalize step.
So what does equalize do?
Let's reconsider the selection. It contains greens. Should we average the selection in the original image, the LAB values measure 47 / -11 / 32. That means: slightly on the dark side, green with a good dose of yellow. Fair enough, we could expect these values. The equalize action in step 2 spreads out luminosity values of the selected area over the full range. If the selected area contains a limited range (e.g. mostly midtones) then the equalize causes a serious increase of contrast. If the selection contains mostly dark pixels, it will largely lighten the image, and vice versa. Hopefully you get the idea.
In our case, L values of the selection are around the midpoint (remember the average value of 47) but their range is somewhat limited. So the equalize step increases contrast. Light pixels will get lighter, dark pixels darker. But all the moderating steps (fade 40%, reduce opacity to 30% and the mask) limit the luminosity effect considerably.
For the color part, the mechanism is the same, but the effect is more pronounced. Remember the average value of the color channels in the initial selection: -10 / 32, a yellowish green. Also, remember that the color channels in LAB are extremely wide: many color values produce out-of-gamut or even non-existing colors. In a normal photograph like this one, the values for both A and B are always limited to a small range.
Perform an equalize action on the A and B channels, and colors are driven way apart. Only colors around the center values -10/32 will not change much. Greener colors will get even greener. Less greens will move towards their complementary color, magenta. More yellow greens will become even yellower. And less yellow greens will move towards blue. If the image would contain a purple hue, it would become even more purple. Etcetera.
What about our image?
In our image, we see multiple effects from the MMM action:
- the grass gets both greener and more yellow
- the trees in the background get distinctly more variation: some of it gets bluer, some yellower
- the wood of the bridge gets a slight magenta tinge
- the water, being close to neutral, hardly changes at all - it just becomes a little lighter
- the man's skin gets redder
Of these five effects, only the second one is clearly beneficial. The others are either negligible, questionable or undesired. See figure 4 for the typical areas.
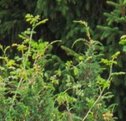
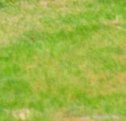
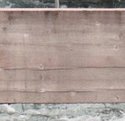
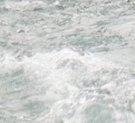
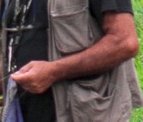
Figure 4: Examples from the grass, trees, bridge, water and man.
This is a pity, because the effect on the trees in the upper third of the image is wonderful. We need to exclude or reduce the color change in the rest of the image.
Luckily, the workflow caters for this situation and the book describes a number of ways to accomplish this. My preferred method is to use blend-if sliders. Blend-if is a mechanism to exclude certain parts of a layer based on ranges of channel values.
In the current image, we are searching for variation in the greens. We are working in LAB, so the idea is to exclude pixels that are positive in the A channel. This filters out the MMM effect for the man's skin and the wood. If we also filter out neutrals, then the metal parts of the bridge and most of the water is excluded too. See figure 5 for the result.

Figure 5: Blend-if sliders applied to figure 3
This looks definitely better, but I'm still not content. The foreground grass area is too yellow-green. It looks unnatural.
Let me explain the cause of that by looking at the LAB numbers. The grass in the original is distinctly more yellow than the background bush. Remember the average values of our initial selection: A -10, B 32. Now let me split the selection on the division between the grass and the trees, just behind and on the right of the man. The average of the foreground is then -11, 42, and of the background -9, 21. The difference is in the B channel: the grass more yellow, the trees less yellow.
This is an important notion, so let me rephrase that. The trees and the grass differ not in the A channel (i.e. they are about equally green) but in the B channel: their yellowness.
The MMM action, trying to separate colors, will make the grass even more yellow and the trees even less yellow, or more blue.
Is this desirable?
Well, yes and no. First, note that the background contains a mix of less-yellow and more-yellow greens. The average is less-yellow but there is definitely more variation in the greens of the trees than in the greens of the grass. The MMM action will probably make most of the trees less yellow but some of it more so. That's nice. But the grass, being very limited in range, becomes uniformly more yellow. That's not what we want.
A better procedure
For this case, I suggest a different procedure. The grass and the bush, although both greens, are so different that each deserves its own MMM. One to increase detail into the trees area, retaining its less-yellow tinge. And one to increase detail into the grass area, keeping its yellowness but not increasing it.
This can be accomplished by the following procedure.
- Make a rough selection of the background trees. Run MMM.
- To remove the magenta cast that pops up here and there, add a blend-if on the A channel.
- To reduce the yellowing effect on the grass, add another blend-if on the B channel.
This enhances the trees but hardly affects other image areas. - Now make a rough selection of the grass. Run MMM again.
- To remove the magenta cast, add a blend-if on the A channel (similar as step 2).
- To limit the effect to the grass, add another blend-if on the B channel, blocking anything not yellow enough.
The result is shown in figure 6. For comparison, figure 7 is the previous version. Figure 8 shows fragments of the grass area that I picked in figure 4 too.
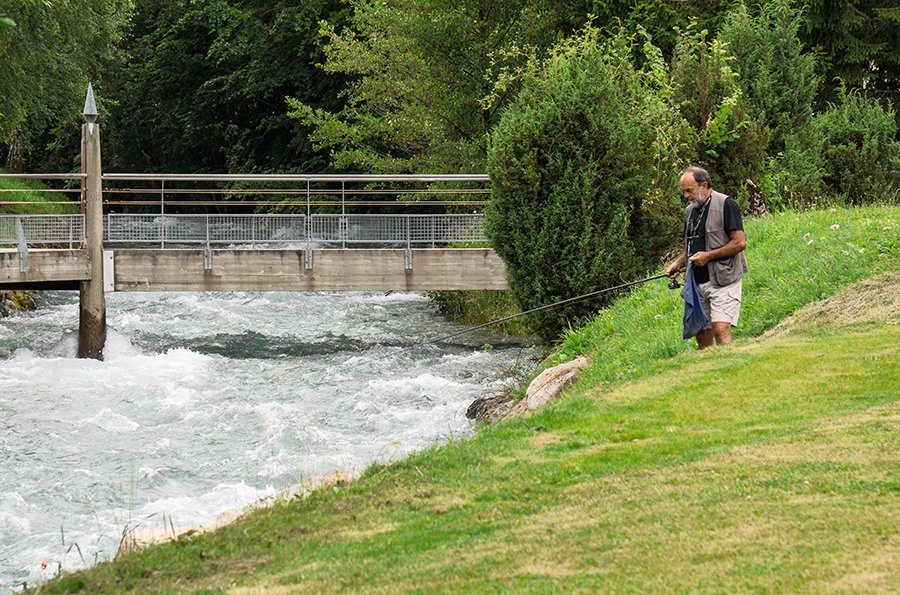
Figure 6: Version with MMM applied twice
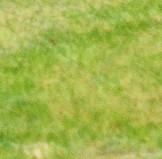
Figure 7: Version with MMM applied once (same as figure 5)
Figure 8: The grass in each of the versions
Note the increased variation in all greens, without the grass starting to look unnatural. Note also that in both cases, I used MMM with all default settings. The results can even be improved by choosing different opacities, adjusting masks etc. Obviously, the version of figure 6 gives more freedom for improvement, because it has twice the amount of layers which can all be adjusted independently.
MMM Finetuned
For myself, the difference between the two versions is so relevant that I want to go through the trouble of doing all the extra blend-ifs (or, if that suits better, masking out image areas that need to be excluded).
Or do I?
Not any more. I found the above concept so important that I created an action to do it automatically. The action is called "MMM Finetuned". This is what I wrote about it in the Yahoo Applied Color Theory Forum:
I have created a Photoshop action that is a variation on the MMM action from the PPW panel. I call it "MMM Finetuned."
The main difference with the original MMM is that it tries to limit the effect to the color and luminance values from the initial selection, by means of different masks for the MMM Color and Luminosity layers.
Let me explain why this may be beneficial. The original MMM enhances color and luminance variation based on a selection. If the selection contains mainly greens, variation in greens will increase, but other colors will move away from green. I love the effect on the greens, but often not on the other colors. Skies may become purple etc.
In my version, the effect on greens will be equal to the original MMM, but differently colored areas are masked out and thus will remain unaffected. (In fact, the new action includes the body of the MMM mechanism.)
The idea is to do multiple runs. E.g. after having improved the greens, make another selection of brown areas and run the action again. This will enhance browns and leave the greens like they were. It is even possible (and advisable for some images) to select dark greens, run the action, then select lighter and more yellowish greens and run the action again. The net effect is considerably better than after selection of all greens and browns and running one MMM.
For me, this gives wonderful results. Maybe something similar can be attained with the original MMM, but it would require complex masking or blend-if manipulation. My action does it automatically.
Note that the actual selection is important, more so than in the original MMM. Include too many colors or luminance values and the effect will be limited.
I'd very much like to know your opinion (also if you encounter problems). You can download the action from the Files section in the forum.
For those of you who do not have access to this forum, I made the action available on the "Downloadable Actions" page of my site. Feel free to download and use it.
NOTE. Since June 2018, the MMM Finetuned action is part of the PPW Panel (version 5). It comes in the "My Own Actions" subpanel. If you don't use the panel though, the download from my site is still available.
To show what the action can accomplish, look at figure 9 below. It is the result of four MMM Finetuned runs, one for the trees, one for the grass, one for the water and one for the bridge. Only one of the resulting layers needed a blend-if (filter out magenta on the first run), only one layer was removed (color layer for the bridge). No extra masking was required. Just for comparison, the
original is shown in figure 10.
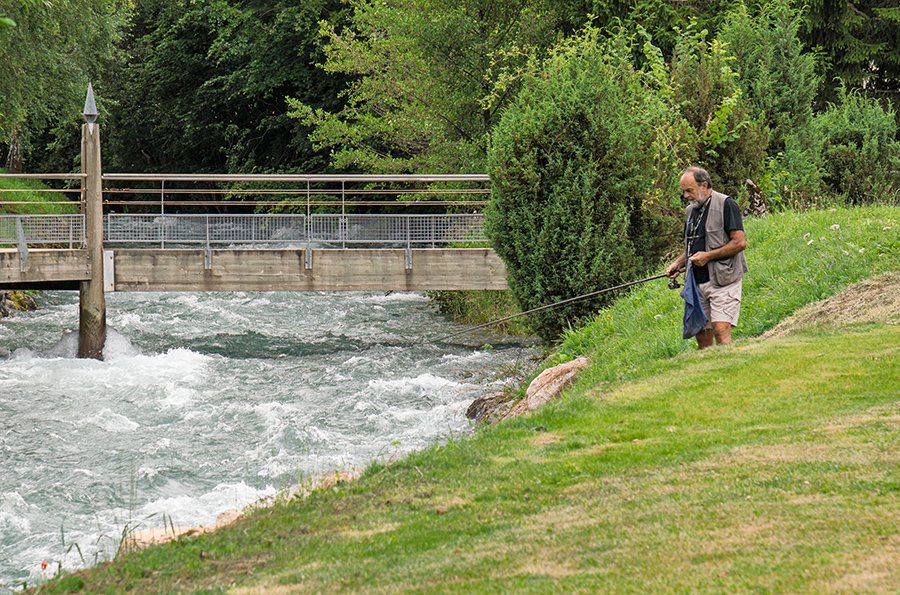
Figure 9: An application of "MMM Finetuned"
(run four times)
Figure 10: The original revisited
Arguably, figure 9 is overdone, but it is added to show the capabilities of the action. Like with the original MMM, the user is supposed to judge the effect and reduce it, intensify it, apply proper masking etc. until the result looks good.
Having powerful tools at one's disposal is always the best start. It's up to the retoucher to use the tools intelligently and with taste.
Gerald Bakker, 24 April 2015
Related articles
Picture Postcard Workflow